Count on E-Rigging for top-notch wire rope swage tools and wire cable cutters. With our full line of wire rope swage tools, you can effectively terminate your cable assembly or add an eye loop to any cable assembly with a long-lasting quality swaging tool from E-Rigging. Designed for practicality and functionality, our wire cable cutters and wire rope swage tools make wire cutting a breeze. To ensure reliability and long-lasting durability, all of our products are crafted with quality materials that are made to last. At E-Rigging it’s our goal to provide you with all of the rigging products you need to effectively finish your project on time and with ease. Browse our catalog of products above for more information!


Instructional Videos on Cable Cutters, Swage Tools & Fittings


Swaging sleeves for steel cable assemblies is one of the most commonly performed rigging functions for lighter duty applications. Watch our video for everything you need to know in order to safely and correctly swage sleeves for your next application.
HOW TO SELECT SWAGE SLEEVES
We’re often asked whether it is better to make an eye with hourglass sleeves or with wire rope clips.

Swaged hourglass sleeves are stronger, more cost effective, and do not require future maintenance or re-torquing of nuts. They are also more streamline than wire rope clips.

Cable Construction
When forming swaged cable assemblies, there are primarily two types of wire rope that are used: 7x7 and 7x19 strand cable.

The shape of the cable is not perfectly round and is made of several strands of wires.
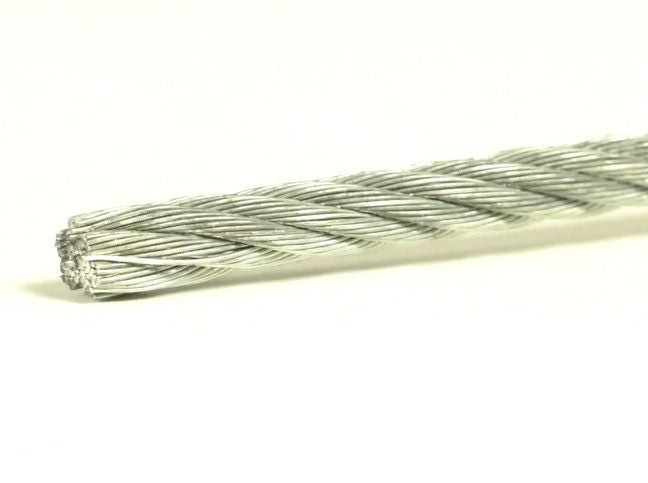


Shown here is ¼” 7x19 hot dip galvanized cable.
7x19 refers to the cable having six outer strands surrounding the center core strand that counts as the seventh. Each strand is composed of 19 smaller wires.
If you look closely, you can see the v-shaped area between the strands. This is referred to as a “valley.”

Most commonly, aluminum hourglass sleeves are used with hot dip galvanized cable to form cable assemblies.
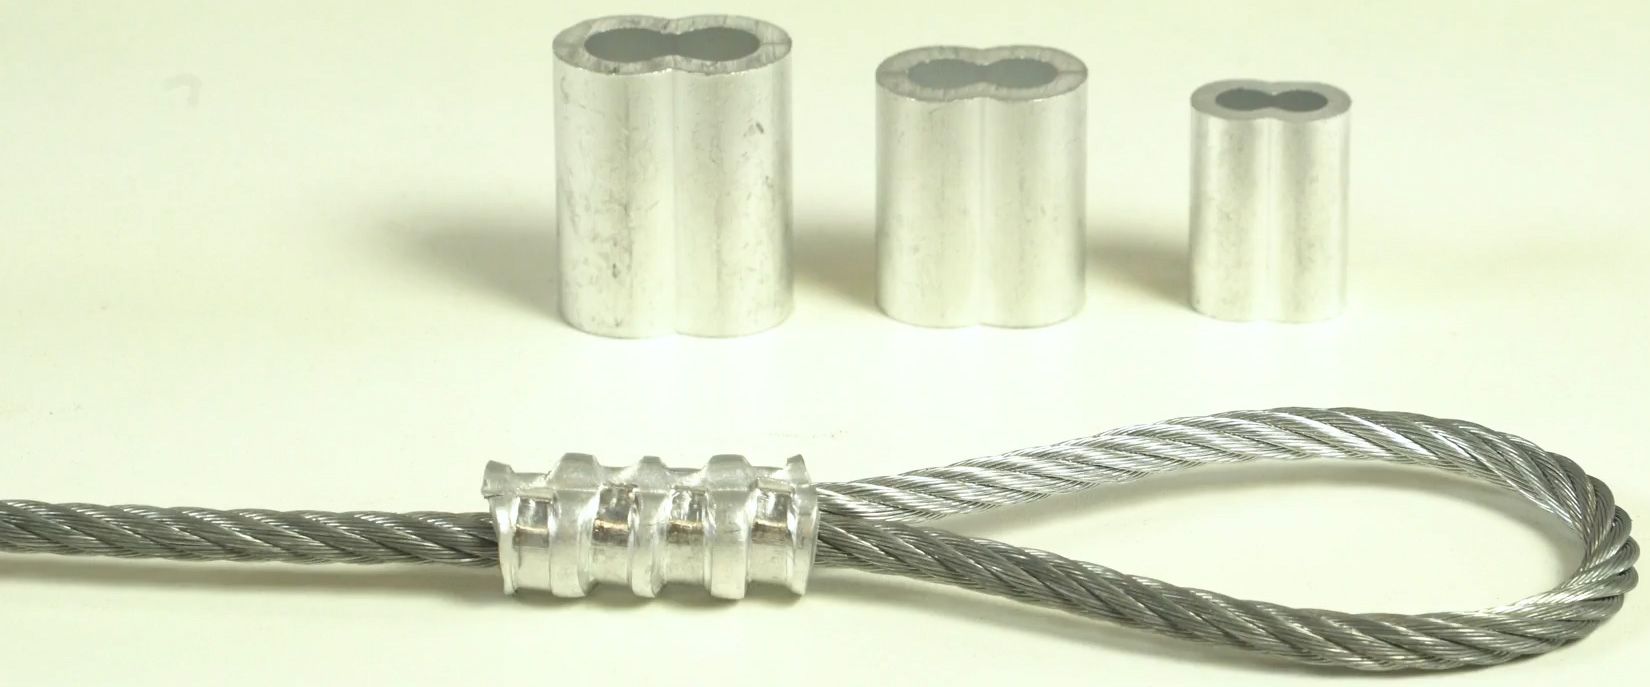
The aluminum is soft. When compressed by the swaging tool, it will be forced into the valleys of the cable, locking the aluminum sleeve into place.
How to Install Swage Sleeves
Creating a Swaged Cable Assembly
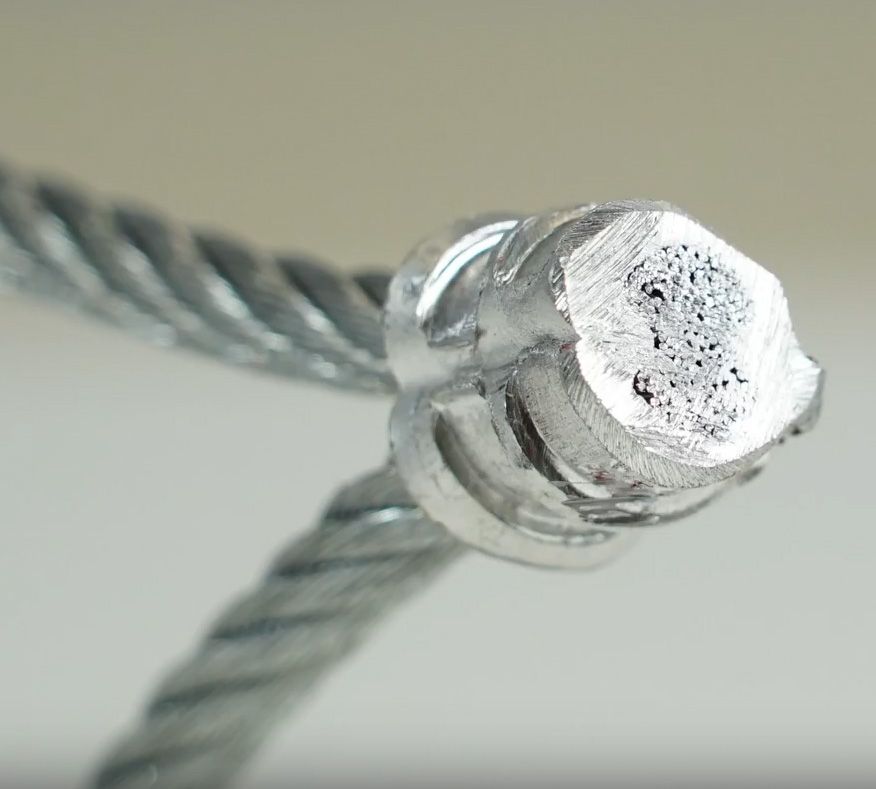
Make an eye by passing the cable through the sleeve and doubling it back.
Before swaging, make sure the “cut end” of the cable sticks out at a length at least 2 cable diameters. This will allow for full contact with the cable when the sleeve expands during swaging.
Place the sleeve into the tool jaws.
Note the proper orientation of the swage tool cavity with the aluminum sleeve.
The sleeve should always be vertically aligned and never horizontal.


With the sleeve in the proper position, make your first swage by squeezing the swage tool handles together until the jaws are completely closed.
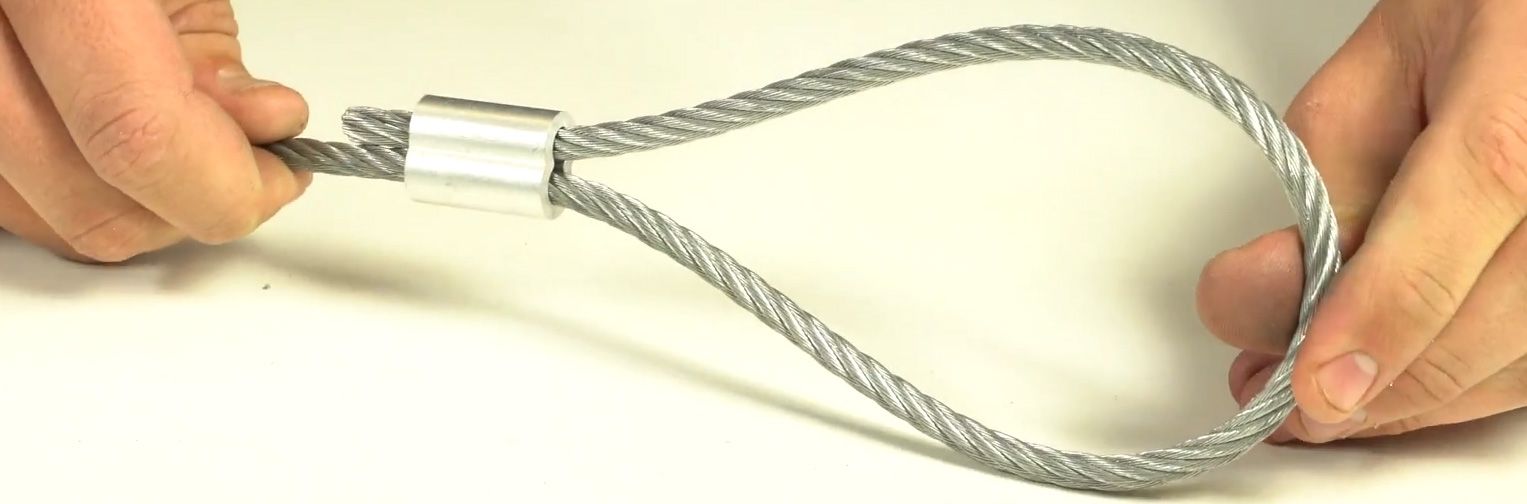
In the case of this ¼” sleeve, it requires 4 swage crimps.
Be sure to leave a small space in between each of the crimps. Your finished assembly should look as shown.
Swages per Sleeve
Different sized sleeves will require a different number of swages.
2 swages are required for sizes 1/16ths" and 3/32nds" sleeves.
3 swages are required for sizes 1/8th" and 5/32nds" sleeves.
4 swages are required for 3/16ths" and ¼ inch sleeves.
5 swages are required for 5/16ths" and 3/8ths" sleeves.
Swaging Sequence
When making multiple swages, it is important to follow the correct sequence for each sized sleeve.
The diagram here can be referenced for the swaging sequences of different sized sleeves
Swage Gauge
To make sure the swage crimps are done properly, use an “after swage gauge” like the Tyler Tool Go-No-Go Gauge.


Using the corresponding gauge cavity, slide the gauge over the sleeve.
If the gauge turns around the swage crimp area freely, you then know it was done properly.
If the gauge does not slip over the swage crimp area, use the tool to swage again to make sure the sleeve was compressed fully.
Termination Efficiency
When swaged properly, the strength of this termination is of 90% of the breaking strength of the cable.
Vinyl Coated Cable
For vinyl coated cable, it is never recommended to swage over the outside of the vinyl coating. Doing so will make a much weaker termination.

What IS recommended is to cut the vinyl back far enough to make sure the sleeve contacts the cable directly.
Lap Splice

Using the same swaging method, a lap splice can be performed to join two pieces of cable.
Be sure to leave a small area in between the sleeves.
Extend the cable end beyond the outer edge of the sleeve by at least 2 cable diameters.
The same number of swage crimps are required per sleeve as are required when making an eye loop.
E-Rigging also carries zinc copper hourglass sleeves which are recommended for stainless steel cable.

It is important to note that aluminum sleeves are NOT recommended for stainless steel cable because of the possibility of the aluminum corroding when in contact with stainless steel. Over time this may cause the contact between the sleeve and cable to weaken and make an unsafe assembly.
Lifting, Overhead Lifting, and Suspending
Properly installed Aluminum and Copper duplex sleeves have been used successfully to suspend overhead equipment in various industries such as stage rigging, agriculture, marine and construction for many years. It is imperative to follow the manufacturer’s swaging procedures, and verify the swage with a Go/No-Go gauge prior to use. For critical lifting applications, it is recommended that a qualified person design, break test, and validate the assembly for the intended use. The fabrication process and margin of safety must be taken into account for the intended application. Shock loads should especially be avoided with these types of fabricated assemblies, but copper sleeves are more resistant to cable slippage than Aluminum sleeves in shock loading situations.
At E-Rigging, we carry the Tyler Tool brand of hand swagers.
There are 5 sizes. All sizes have drop forged heads, are powder coated, and have durable rubber handles.

The 14 inch tool swages 1/16th, 3/32nd and 1/8th inch sleeves.
The 24 inch tool swages 1/16th, 3/32nd, 1/8th, 5/32nd and 3/16th sleeves.

The 30 inch tool swages 5/32nd, ¼ inch and 5/16th sleeves.

The 36 inch tool only swages the 3/8ths inch sleeve.

The bench swager swages 1/16th, 3/32nd, 1/8th, 5/32nd and 3/16th sleeves, like the 24 inch tool.
We hope this may have answered some of your questions on Swaging Sleeves.
If you have any more questions, please Contact Us or look to our YouTube Channel for more videos on various rigging topics.
We look forward to helping you complete your next rigging project.