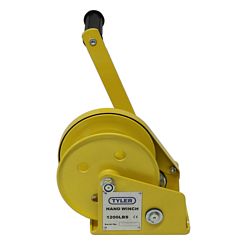
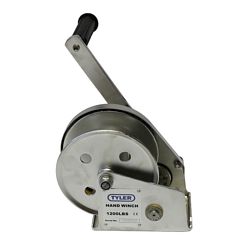
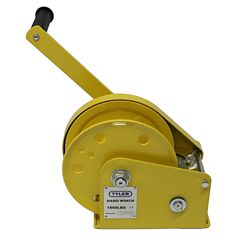
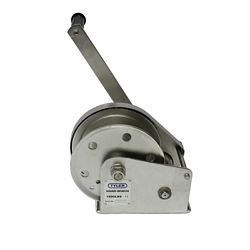
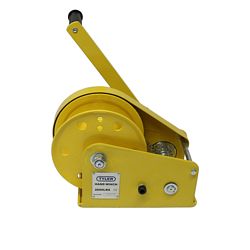
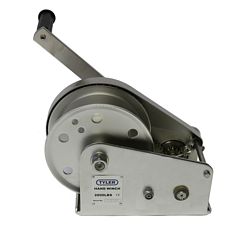
Tyler Tool Manual Hand Winches give you the mechanical advantage to lift or pull a load and are a great cost effective alternative to using an electronic winch or hoist.
Read more or watch our video for information on how to properly mount, assemble, and spool our stainless steel and painted steel
Tyler Tool Manual Hand Winches.
At E-Rigging, we offer
Tyler Tool Manual Hand Winches in 1200lbs, 1800lbs, and 2600lbs load capacities with your choice of painted steel or stainless steel.
2600 lbs Painted Steel and Stainless Steel
Tyler Tool Hand Winches rely on an internal brake and pawl system to safely increase, hold, and release tension.
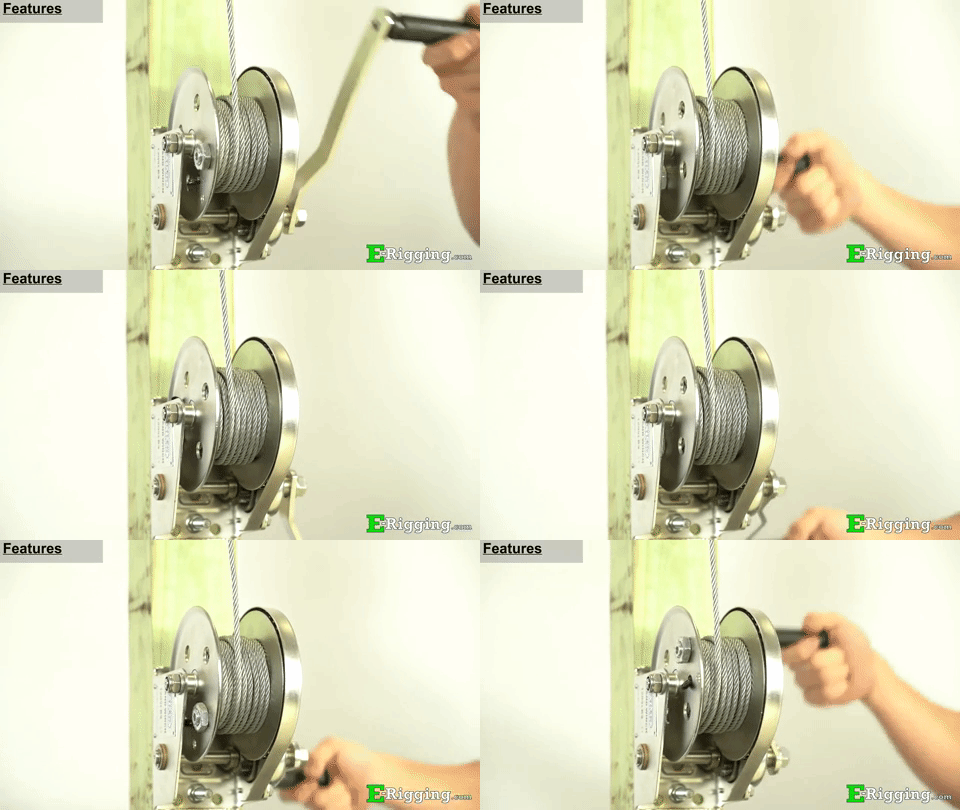
They have 4 to 1 gear ratio and can be used with various different sizes and types of
cable and rope to suit many different types of applications.
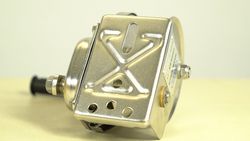
Tyler Tool Manual Hand Winches can be mounted onto a solid metal or wood structure using the versatile mounting holes on its frame.
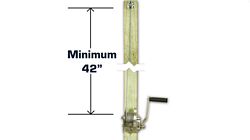
To increase the cable’s service life and help with level winding on the spool, the attachment point or guide system should be mounted at least 42 inches from the winch, as well as, directly inline with the center of the winch.
Before operating your cable winch, the reel must first be properly spooled with cable.
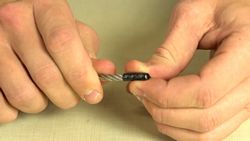
Seize the end of the cable with electrical tape.
Insert the cable end through the set screw.
Insert the cable into the catch hole so that at least one cable diameter length of wire rope protrudes from the other side.
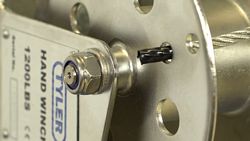
Slide the set screw up the cable.
Insert it into the set screw hole and lightly fasten the provided nut to the set screw.
Use a hex key to orient the set screw so that the cable will flow along the rounded shape of the spool.
Finish tightening the set screw nut with the cable pointing in the correct position.
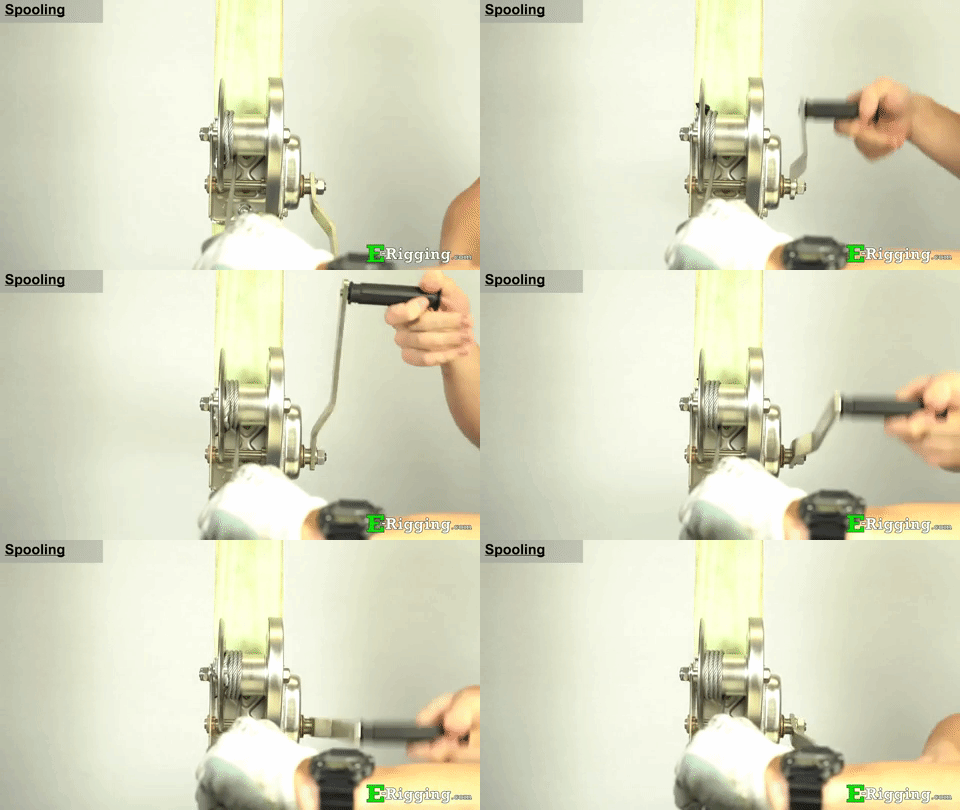
To spool the hand winch, begin turning the handle while holding constant tension on the cable and guide the cable onto the spool until the cable is equally distributed across the spool.
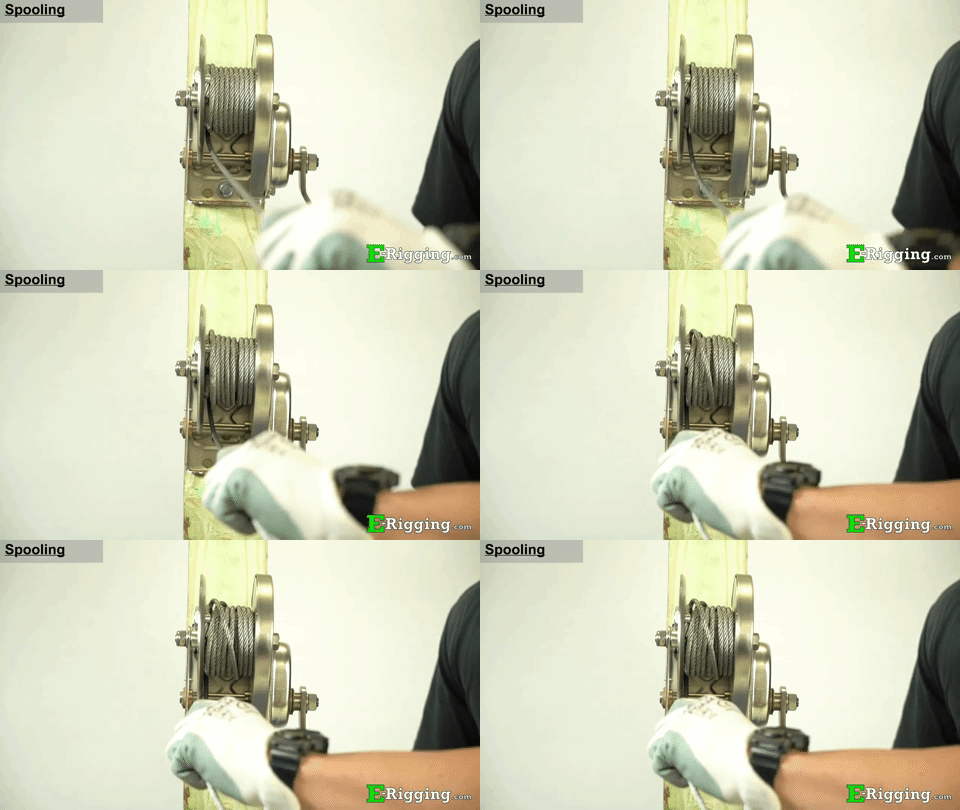
If you release tension from the cable while winding, the cable will likely bird nest on the spool.
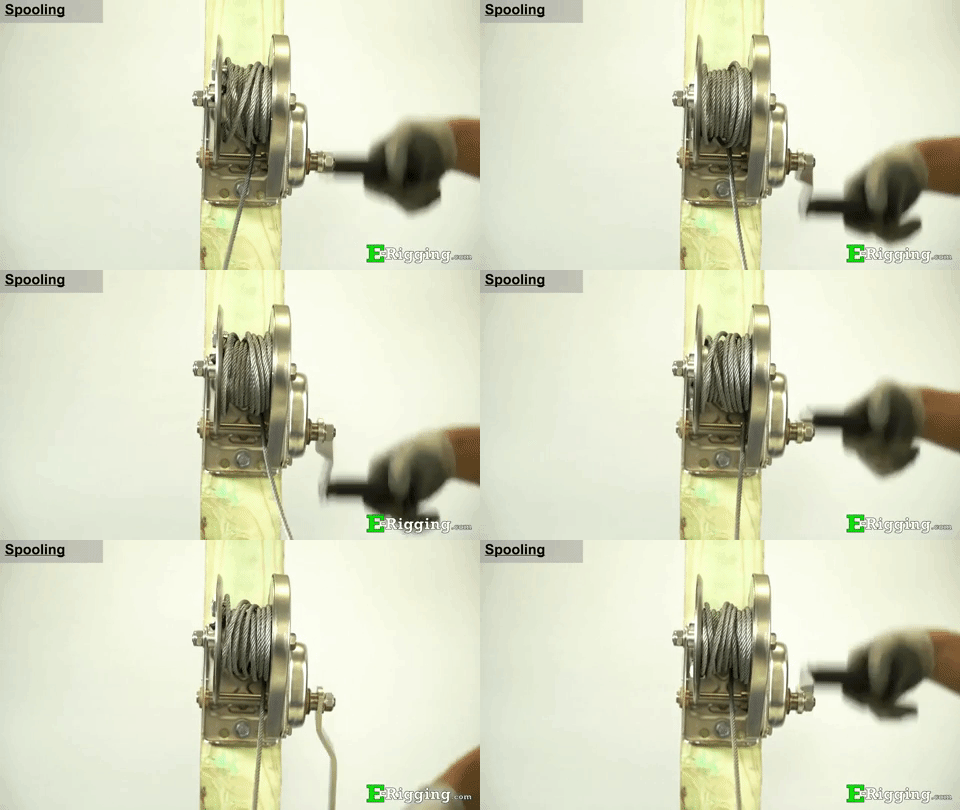
By not spooling the cable properly, the cable can knife into other layers and get wedged, kinked, and undergo severe abrasion, reducing the life of the cable.
To maintain its proper load holding capacity, a minimum amount of 4 cable wraps is required on the winch.
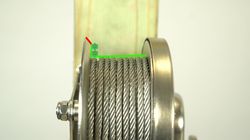
The maximum amount of cable on the spool is determined by the cable diameter and must sit two diameters below the portion of the reel where it starts to angle outwards. Visit the hand winch section of our website to see a table with the maximum lengths of cable you can spool on the winch in various cable diameters.
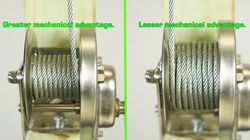
Keep in mind that the greatest mechanical advantage, and the lowest force required to pull a load is achieved when you have the fewest layers of cable on your winch. It is good practice to keep the shortest length of cable on the winch that will work for your application.
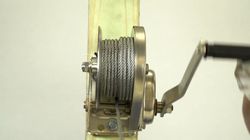
With your cable spooled, your winch is now ready for service.
If you have any further questions, please
Contact Us and subscribe to our
YouTube channel for more videos on various rigging products.


